Setup virtual directories

This demo assumes you've already logged in to Plesk.

Now let's learn how to create a virtual directory.

Click "Show More" to expand the list of options for this domain.

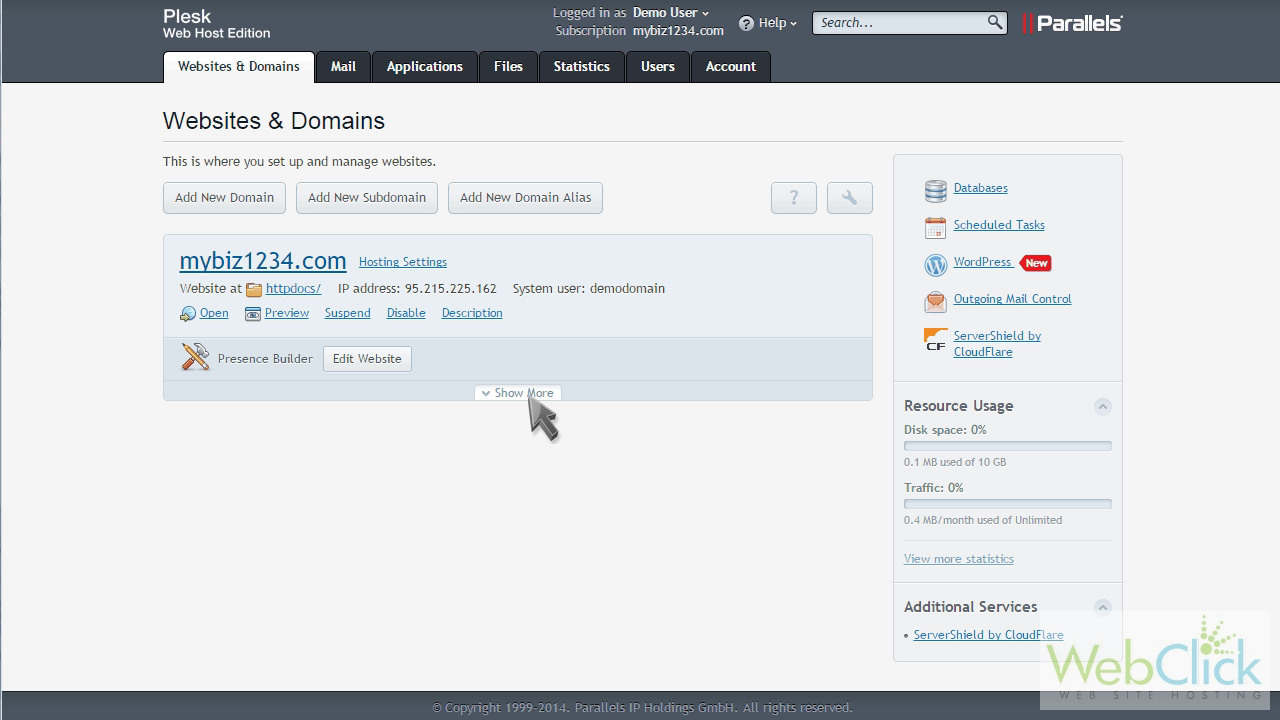
Then click the "Virtual Directories" option.

Click "Create Virtual Directory".

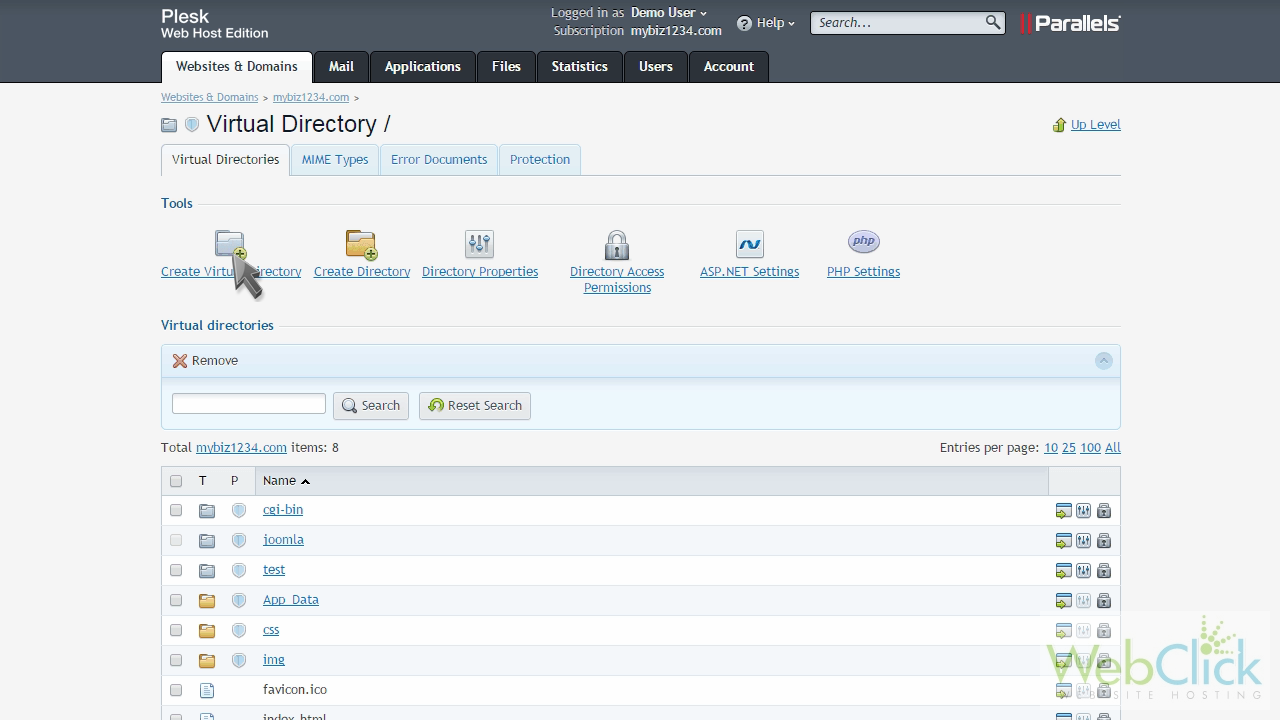
Enter a name for the directory.

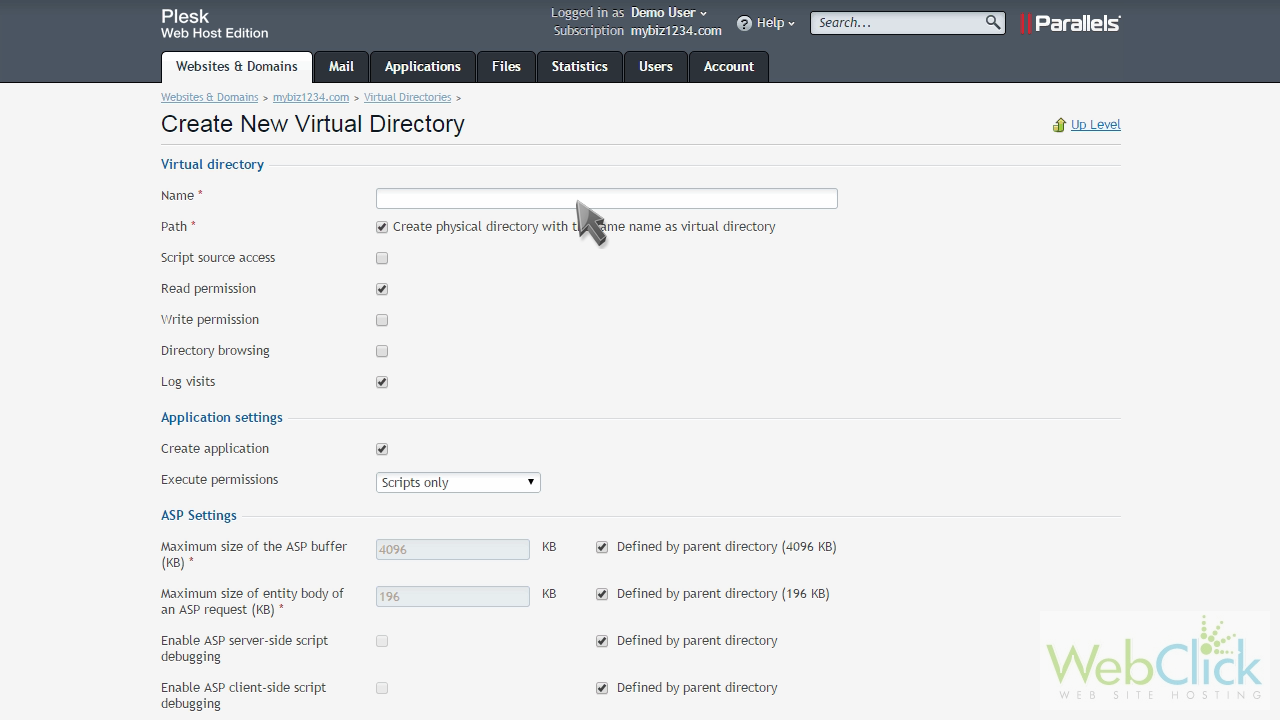
Then make changes as necessary to the permissions and settings of the virtual directory... and when ready, click "OK".

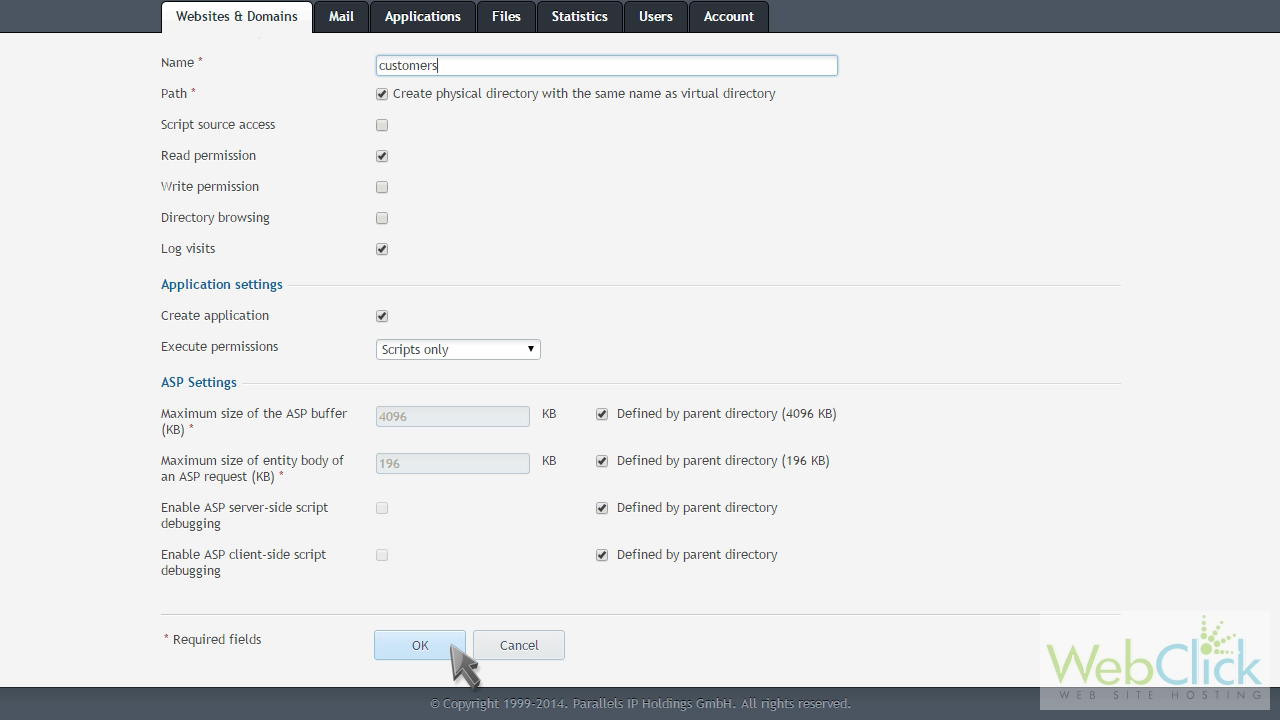
That's it! The new virual directory has been created. Let's go take a look.

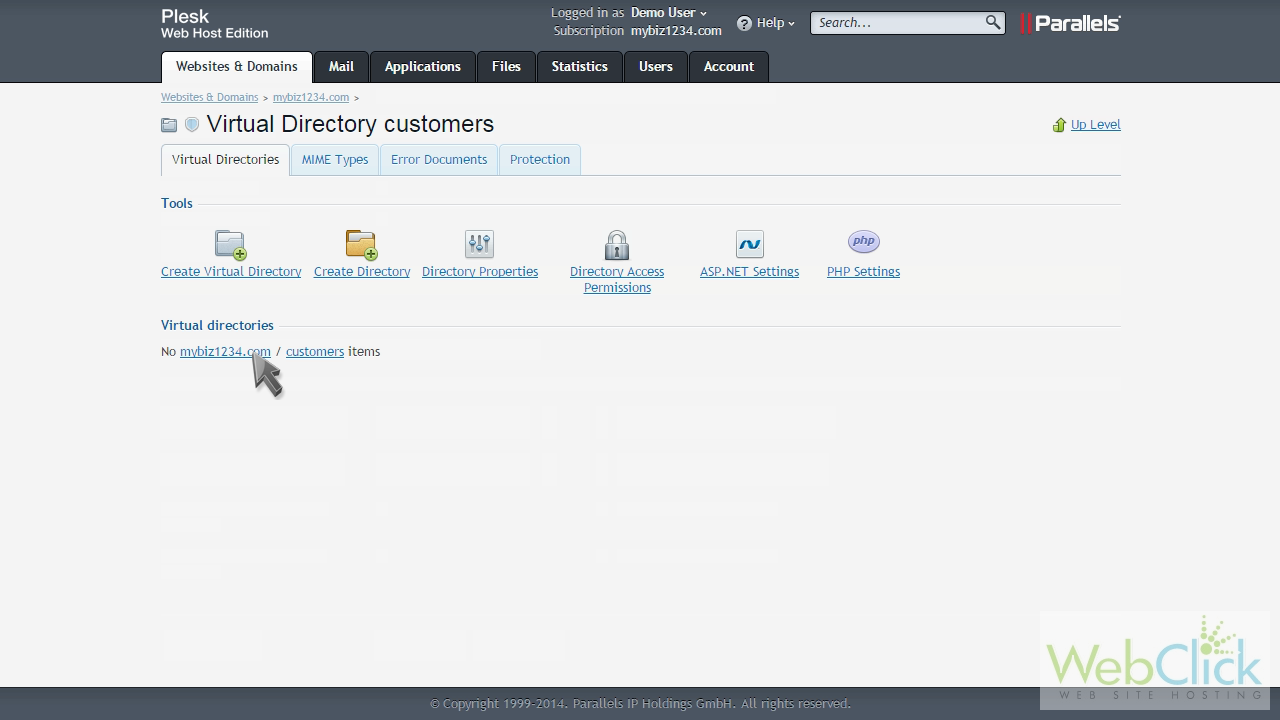
It's listed here in the directory list for our domain.

Removing virtual directories is just as easy.

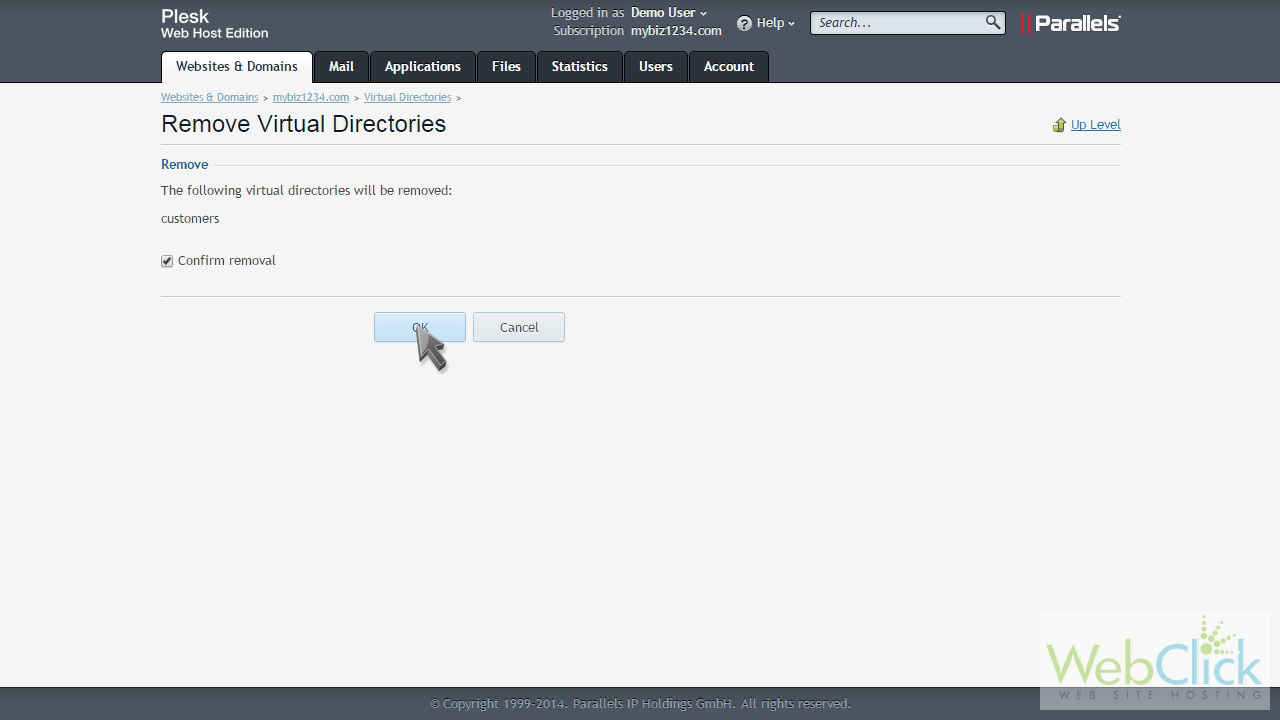
This is the end of the tutorial. You now know how to create virtual directories in Plesk.

  • 0 Users Found This Useful
Was this answer helpful?

Related Articles

Add a domain to your account

This demo assumes you've already logged in to Plesk. Now let's learn how to add a domain to...

Add a domain alias to your account

This demo assumes you've already logged in to Plesk. Now let's learn how to add a domain...

Add a domain forwarder to you account

This demo assumes you've already logged in to Plesk. Now let's learn how to add a domain...

Add a subdomain to your account

This demo assumes you've already logged in to Plesk. Now let's learn how to add a subdomain....

Setup hotlink protection

This demo assumes you've already logged in to Plesk. Now let's learn how to setup hotlink...