This tutorial assumes you already have SmartFTP running on your computer and are connected to a remote server.
Now let's learn how to manage files and folders in SmartFTP.
1) Click new folder.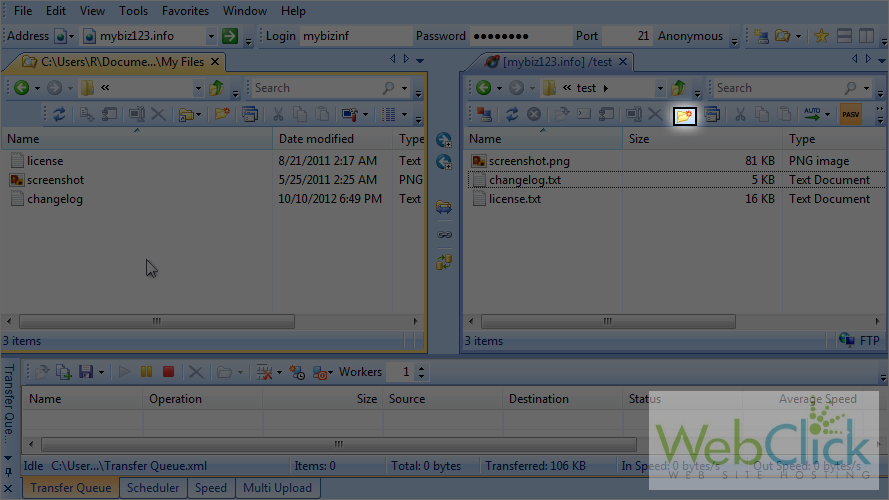
2) Enter a name for the new folder here.
That's it! The new folder has been created and can be seen here.
3) Now let's rename the folder... Keep the folder selected, then click the rename icon.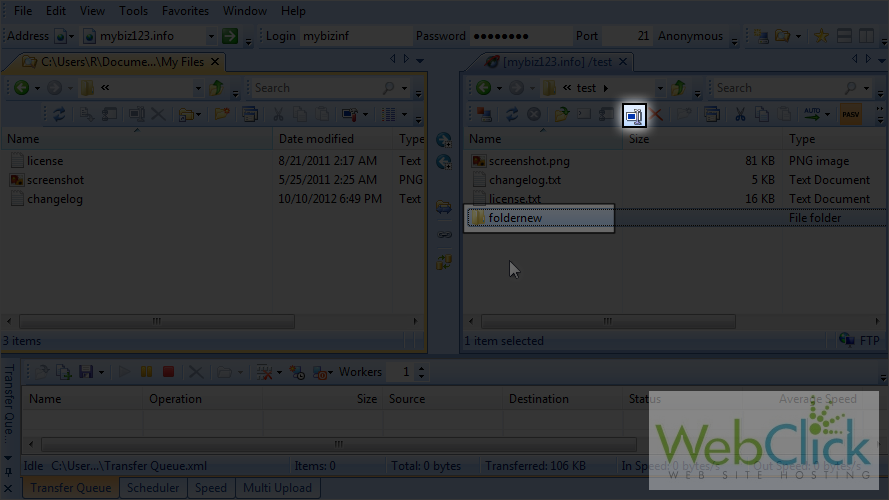
4) Then enter the new name for the folder.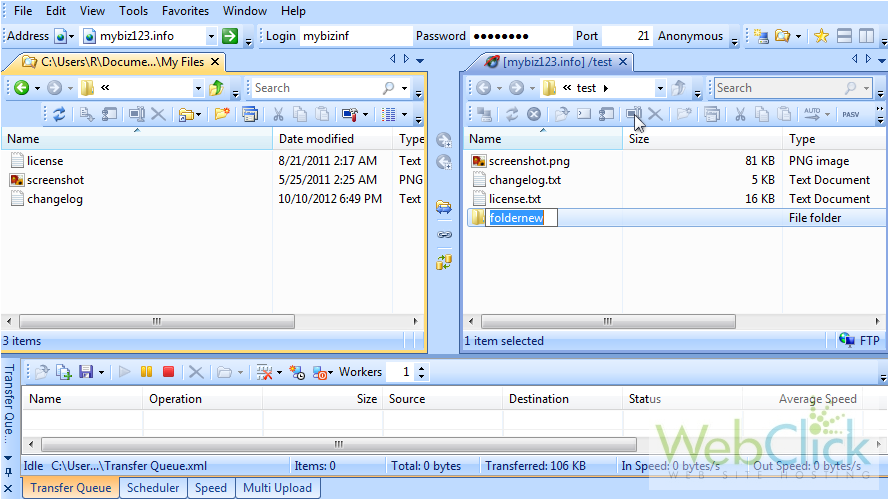
The folder has been renamed.
5) Now let's delete the folder. Select the folder name...
6) Click the delete icon.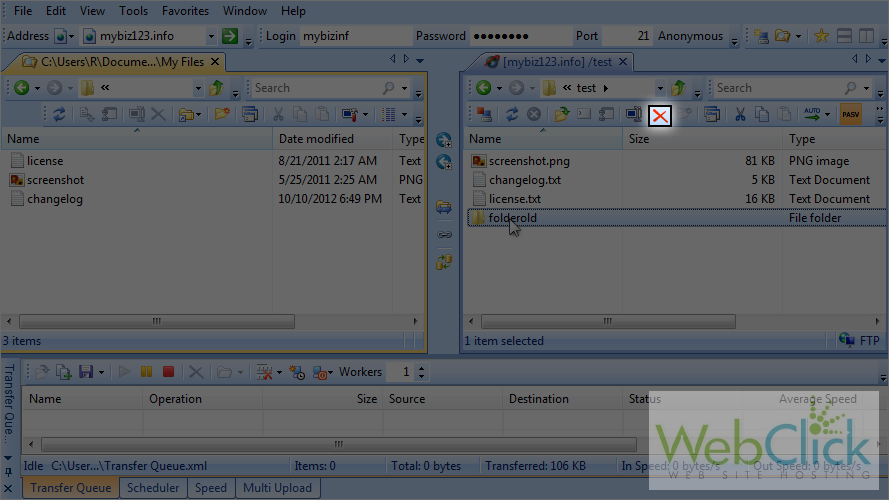
That's it! The folder has been deleted. Now let's learn how to change file permissions.
7) Select the file changelog.txt.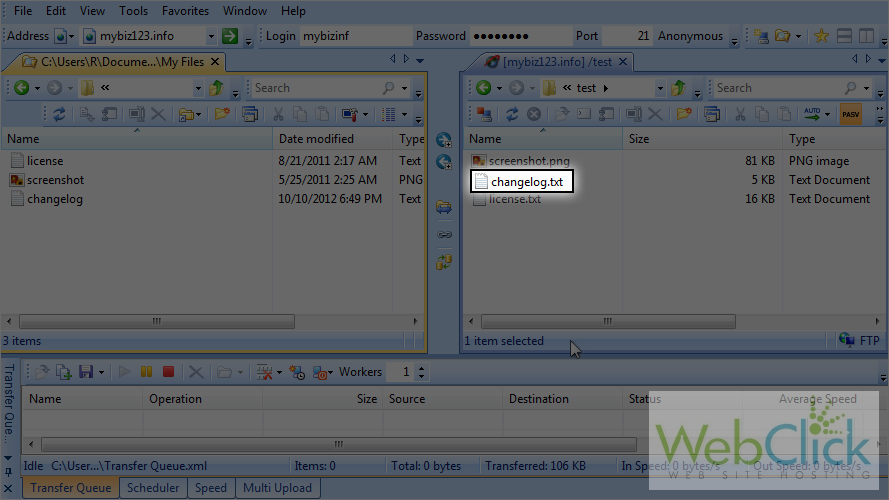
8) Click the properties icon.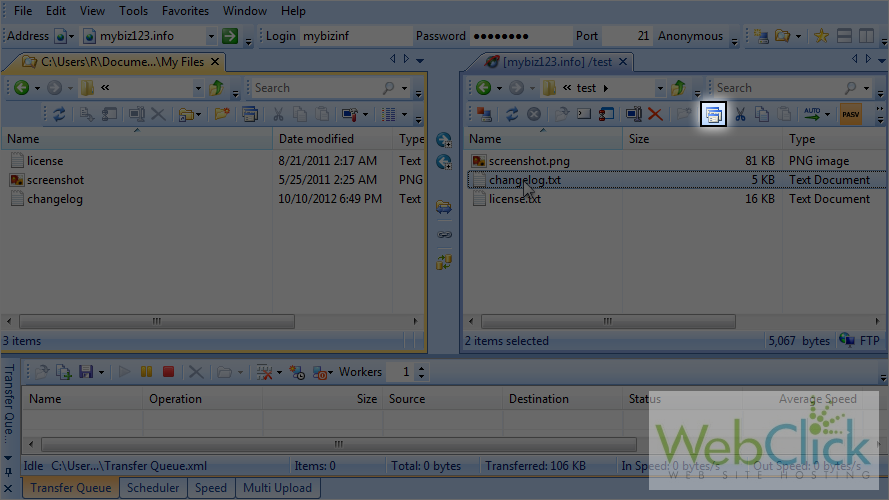
9) Select the permissions tab.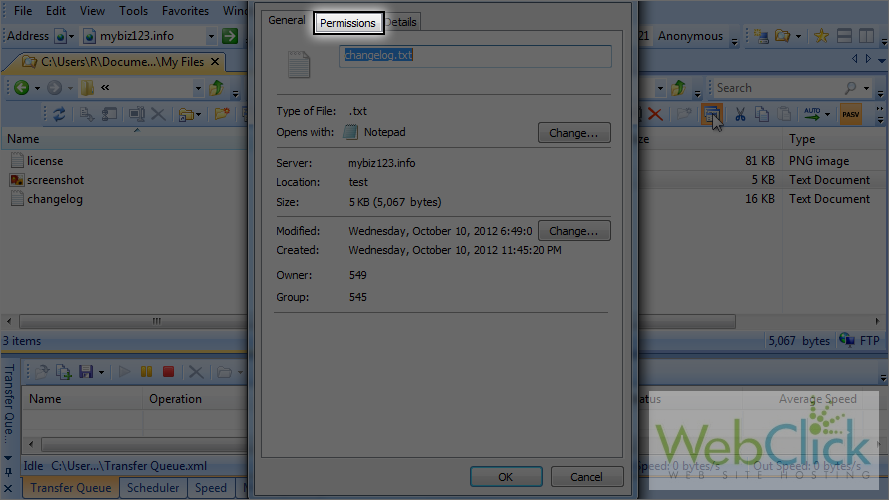
10) Now let's change some of the permissions or attributes of this file.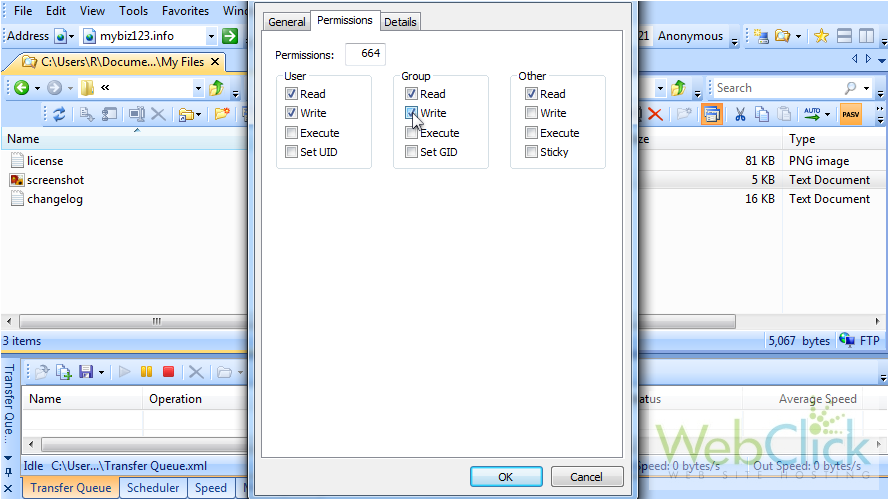
That's it! Permissions for the file have been successfully changed.
This is the end of the tutorial. You should now know how to manage your files and folders in SmartFTP, including creating new folders, renaming them, deleting them and changing file permissions.
