06. Creating a signature in ThunderBird

This demo assumes you've already opened ThunderBird.

1) Right click on your account name.

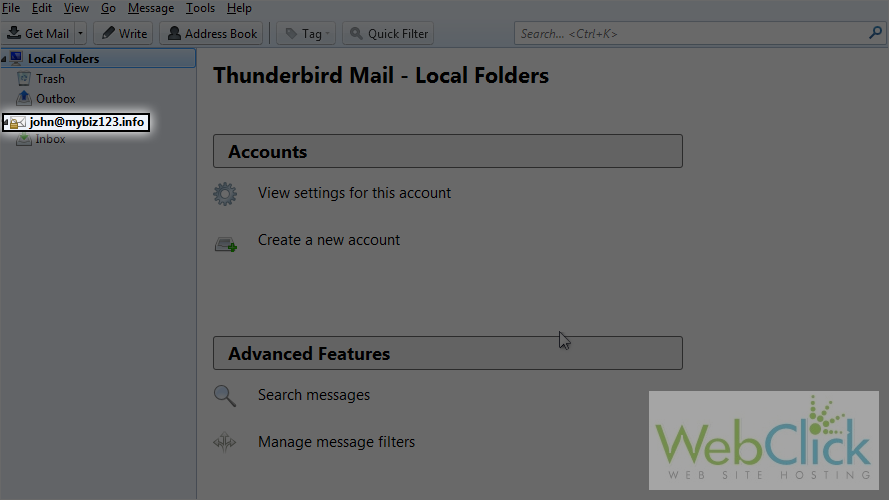
2) Please click on Settings.

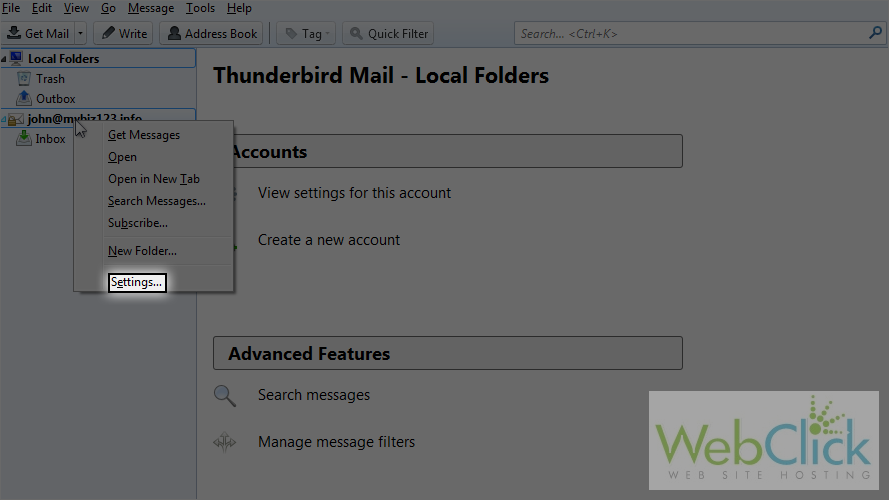
Here you can set your signature.

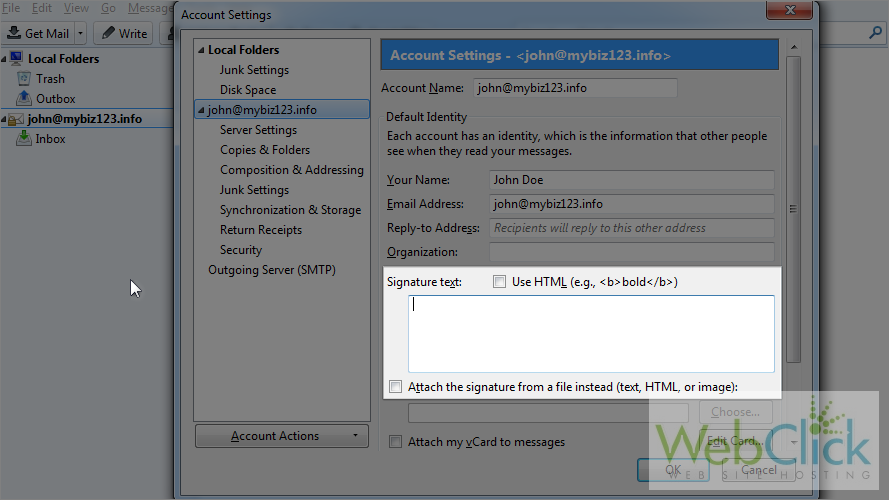
3) Let's set a signature.

You can also use external text, HTML or an image as a signature.

4) Let's use an external signature text file. Click here.

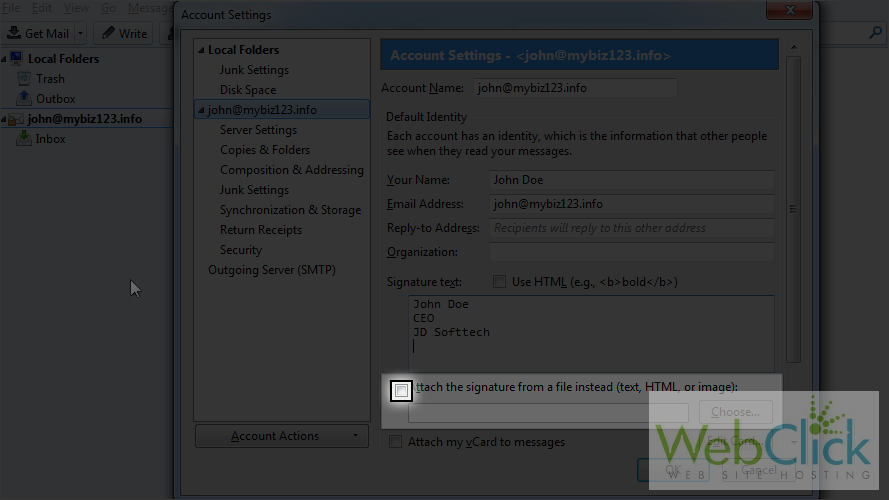
Notice the top signature part is greyed now.

5) The Choose button is enabled now. Let's select our signature text file.

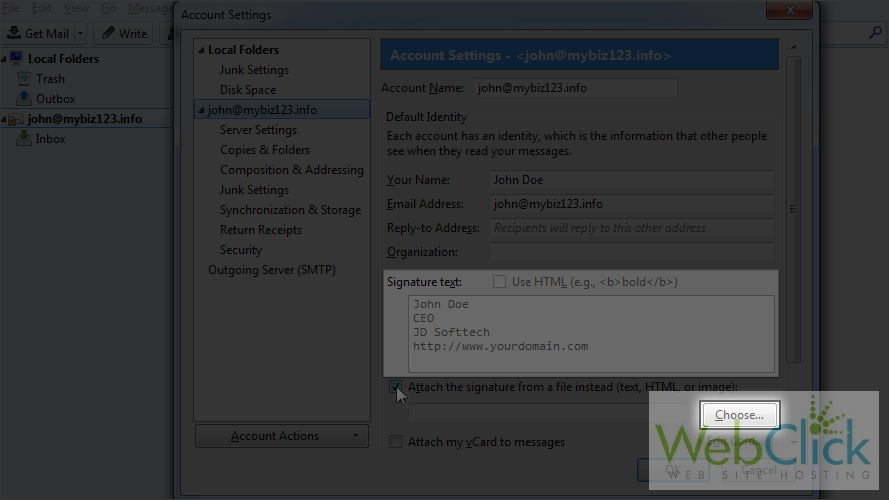
6) Double click the file to select it.

You will see the file name with its full path there.

7) Click on OK to save the settings.

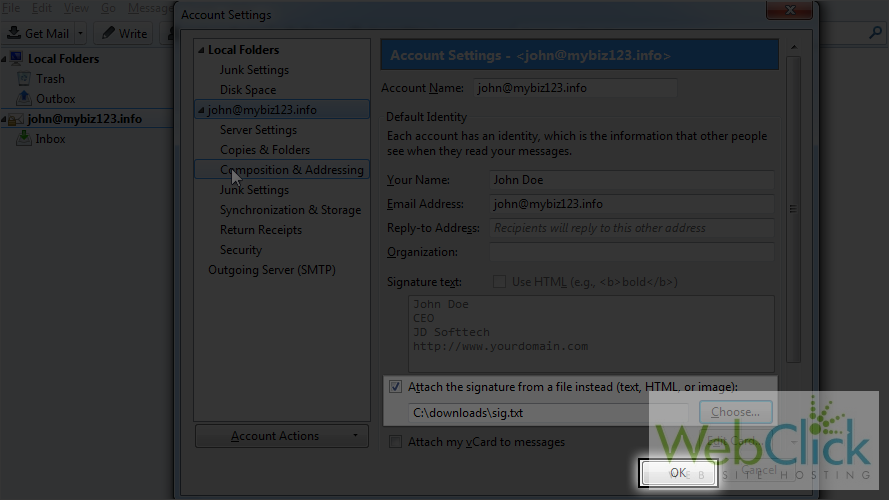
8) Let's open a compose email window to check if our signature is working or not. Click here to open it.
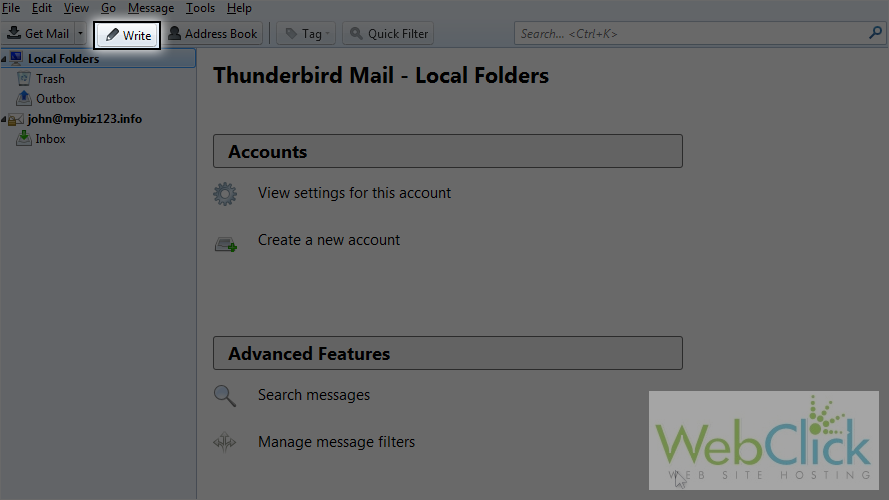
It's working!

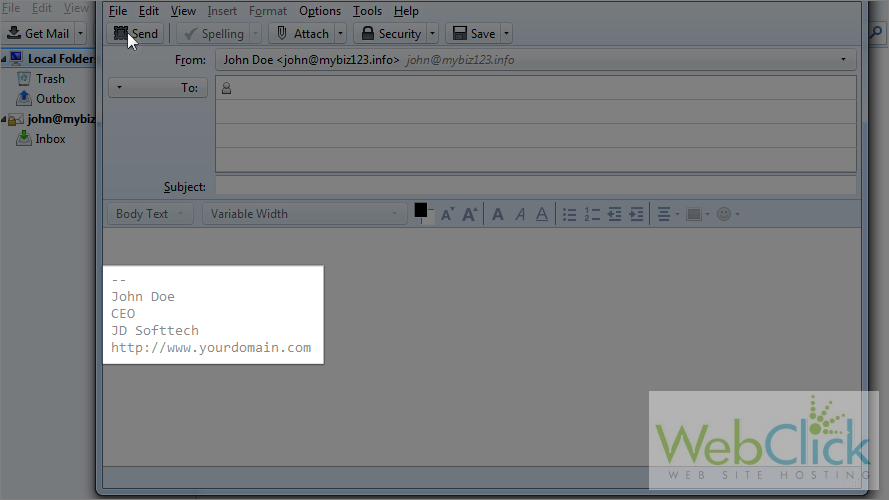
This is the end of the tutorial. Now you know how to setup email signatures in ThunderBird.

  • 0 Users Found This Useful
Was this answer helpful?

Related Articles

01. Configuring a POP email account in ThunderBird

This demo assumes you've already opened ThunderBird. 1) Let's learn how to setup a pop email...

02. Configuring a POP email account with SSL in ThunderBird

This demo assumes you've already opened ThunderBird. 1) Let's learn how to setup a pop email...

03. Configuring an IMAP email account in ThunderBird

This demo assumes you've already opened ThunderBird. 1) Let's learn how to setup a pop email...

04. Configuring an IMAP email account with SSL in ThunderBird

This demo assumes you've already opened ThunderBird. 1) Let's learn how to setup an IMAP email...

05. Configuring custom ports in ThunderBird

This demo assumes you've already opened ThunderBird. 1) Right click on your account name. 2)...