06. How to setup your email signature in Outlook 2010

This tutorial assumes you've already launched Outlook 2010.

1) To setup a signature, first click the "File" tab.

2) Then select "Options".

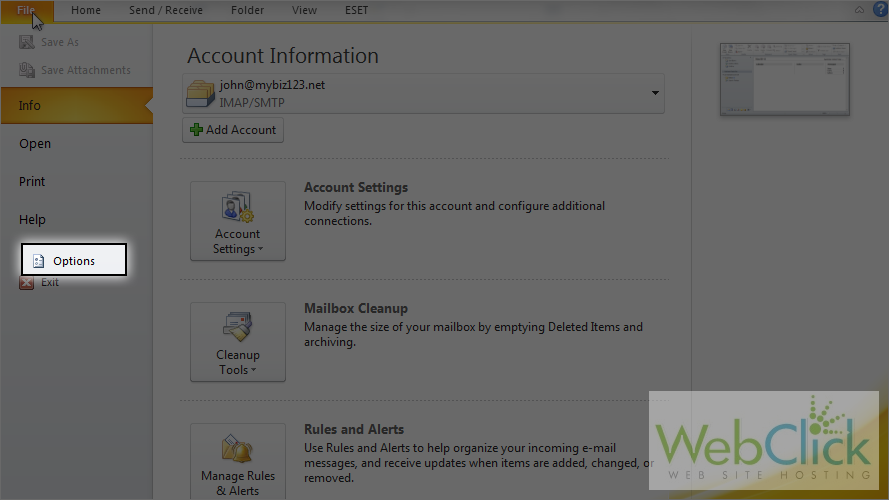
3) Click the "Mail" option.

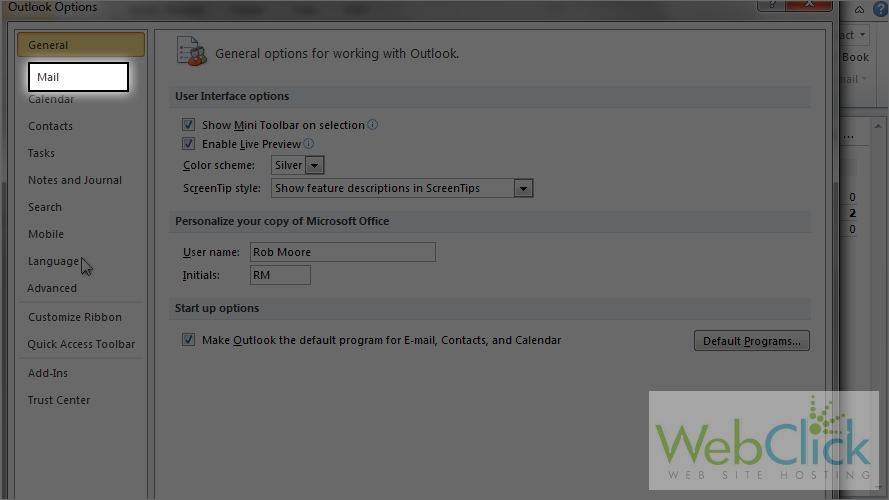
4) Then click the "Signatures" button.

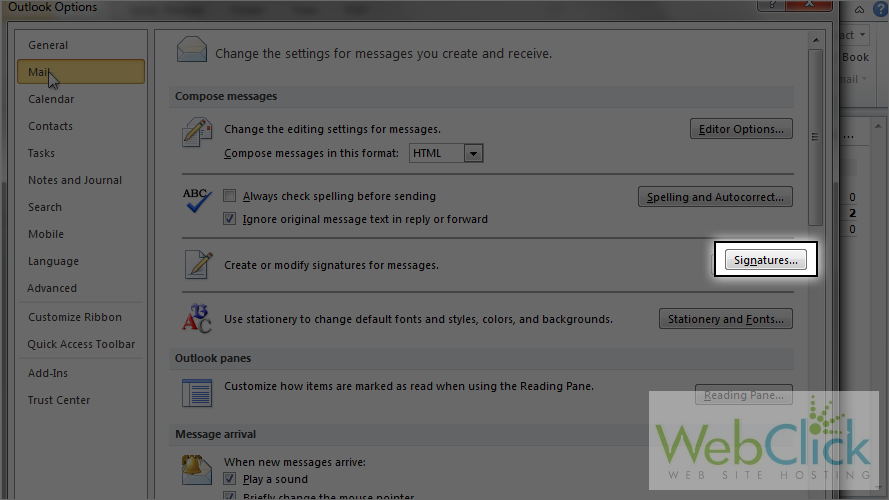
5) Currently there are no signatures configured, so let's add one. Click the "New" button.

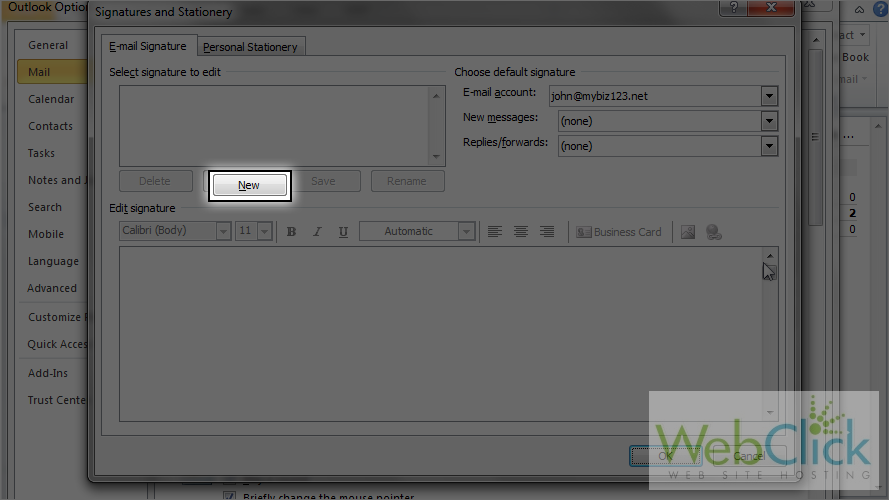
6) Enter a name for this signature, then click "OK".

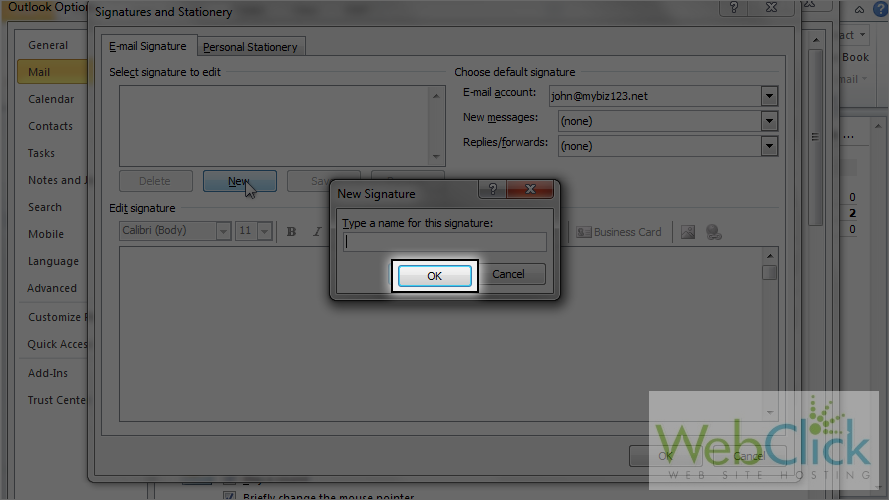
7) Enter your signature in this text box.

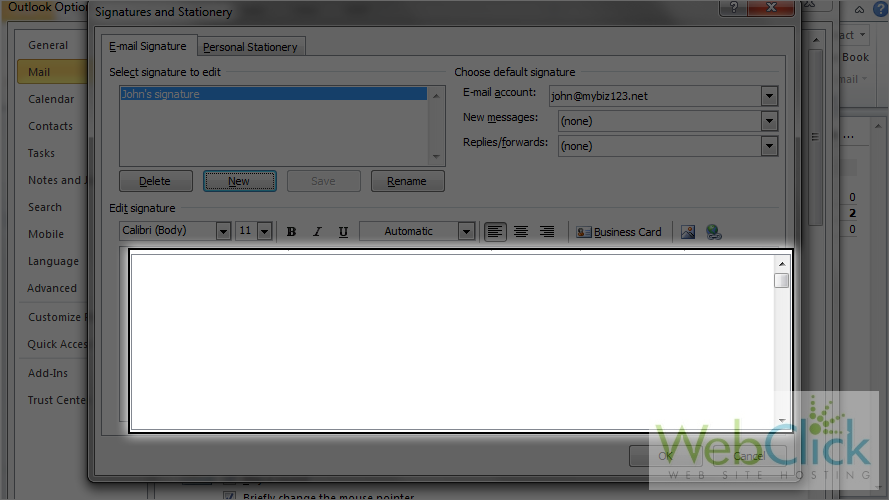
8) Click "OK" when finished.

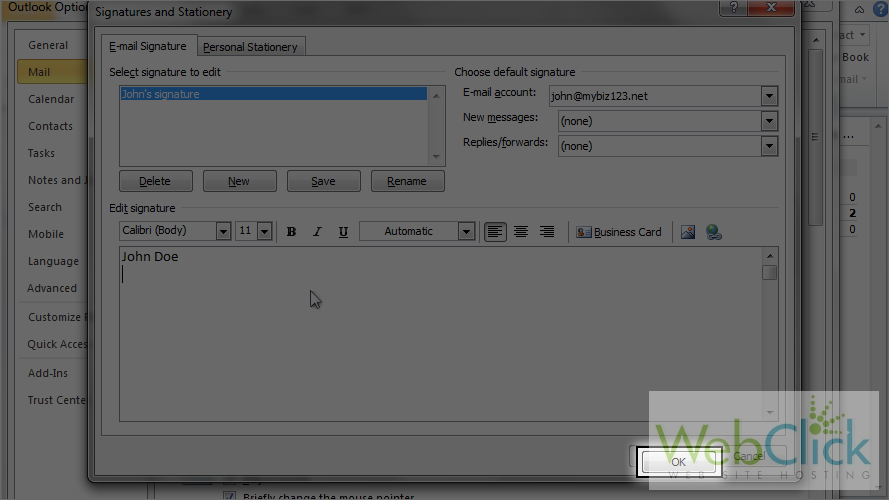
9) Click "OK" again.

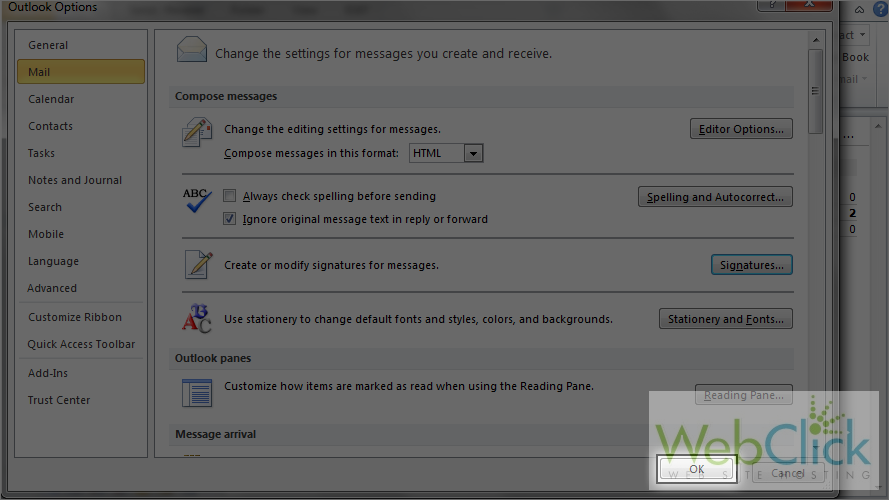
That's it! The signature has been setup and is now easily added to any email we want to send.

10) To add your signature, simply click the "Signature" option in the header.

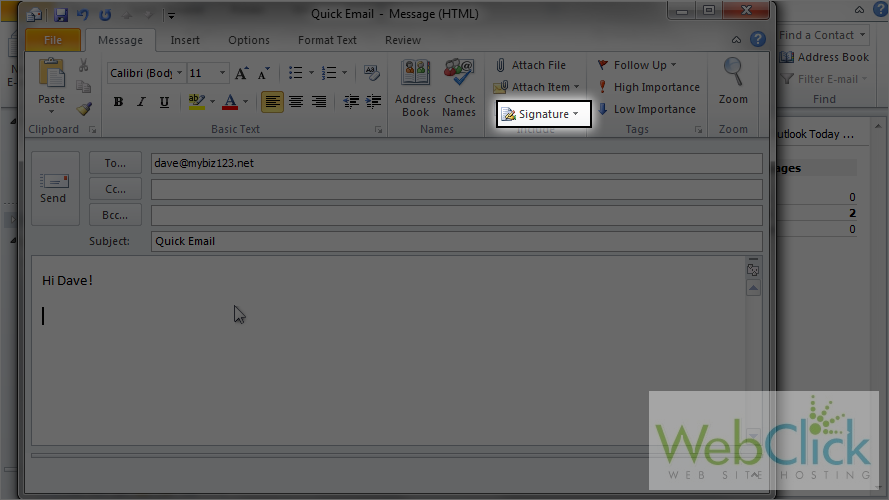
11) Then select your signature from the drop down menu.

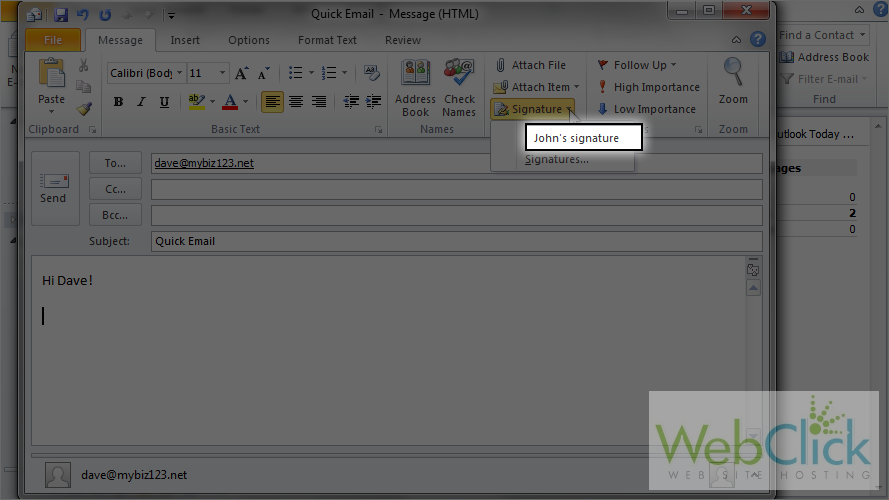
The signature is added to your email message!

This is the end of the tutorial. You now know how to setup an email signature in Outlook 2010.

  • 0 Users Found This Useful
Was this answer helpful?

Related Articles

01. Configuring a POP email account in Outlook 2010

This tutorial assumes you've already launched Outlook 2010. 1) To configure a POP email...

02. Configuring a POP email account with SSL in Outlook 2010

This tutorial assumes you've already launched Outlook 2010. 1) To configure a POP email...

03. Configuring an IMAP email account in Outlook 2010

This tutorial assumes you've already launched Outlook 2010. 1) To configure an IMAP email...

04. Configuring an IMAP email account with SSL in Outlook 2010

This tutorial assumes you've already launched Outlook 2010. 1) To configure an IMAP email...

05. Configuring custom ports in Outlook 2010

This tutorial assumes you've already launched Outlook 2010. 1) To configure custom ports for...