Tables can be an effective way to display information in organized columns and rows.
Let's create a table on another page.
1) Open the Modules tab.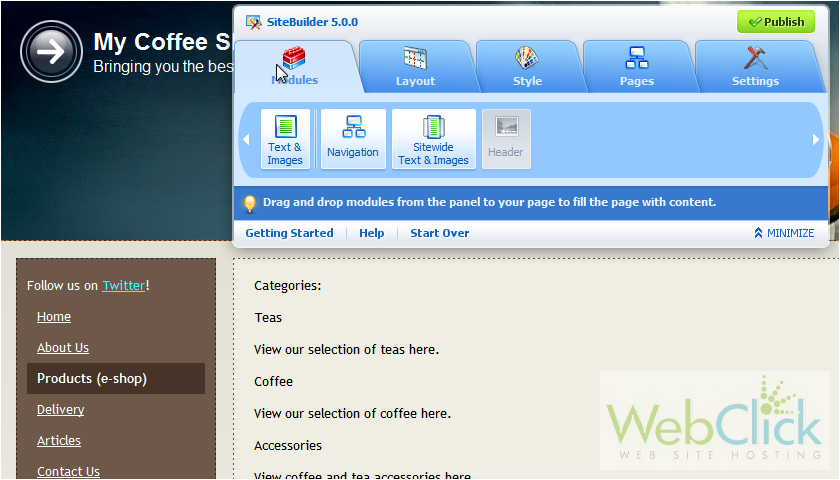
2) Drag a text & images module onto the page.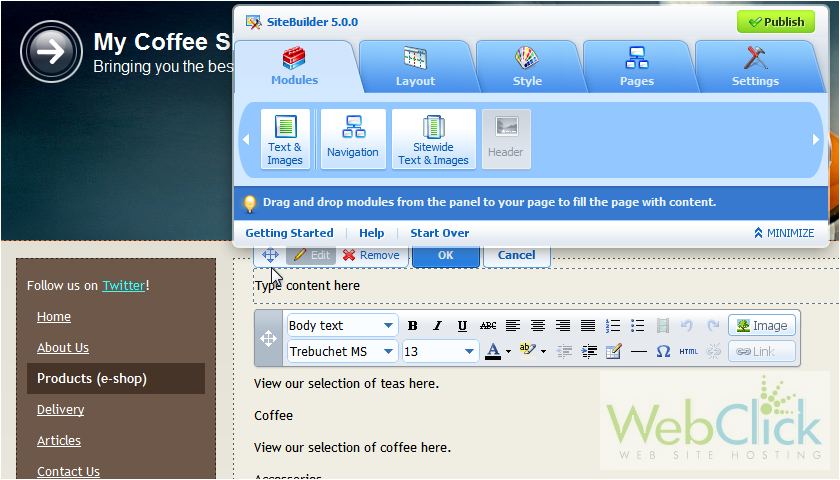
3) Remove the default text.
4) Click this icon to add a table.
5) Type the number of columns and rows this table should have.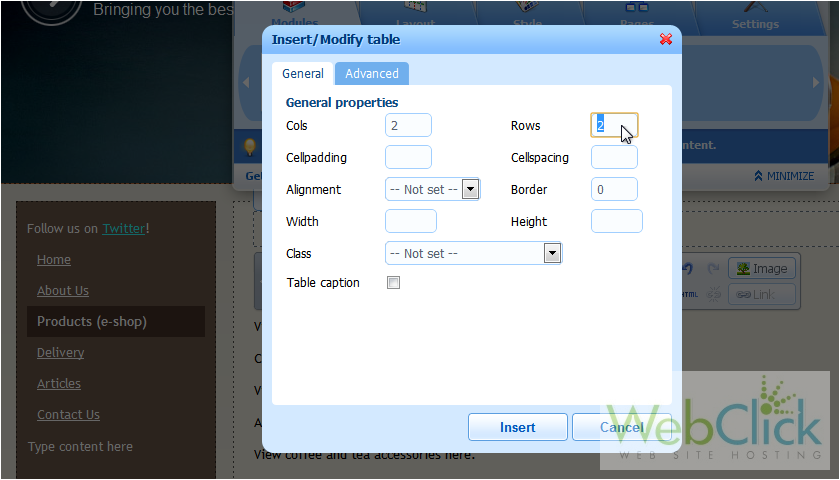
6) Set the alignment.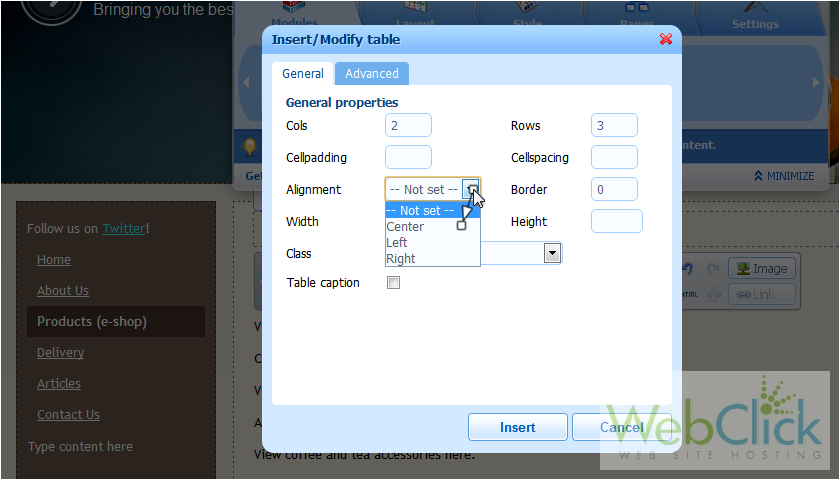
7) Choose the border thickness.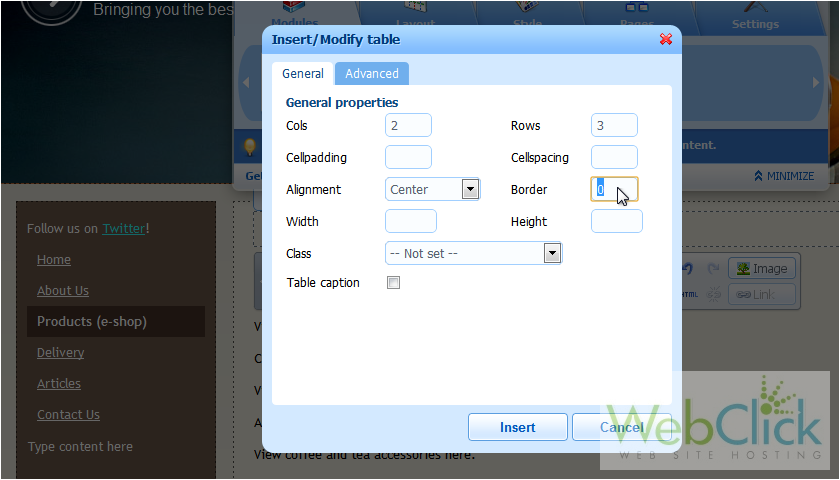
8) Optionally set a class.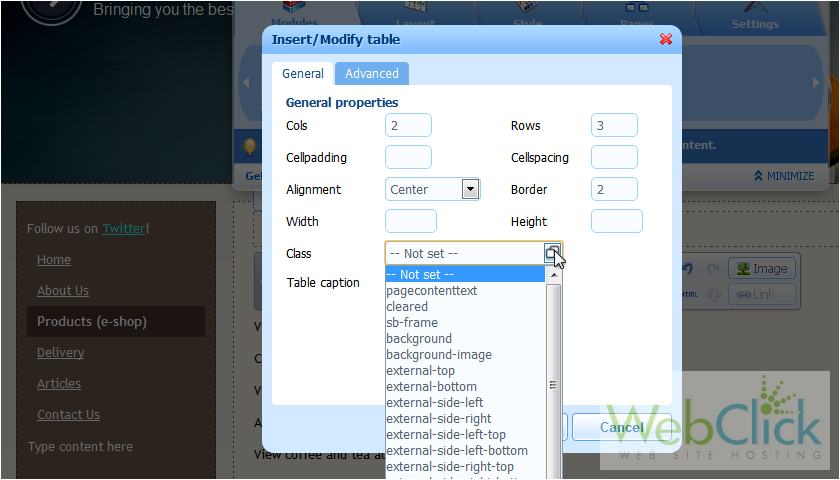
9) Go to Advanced.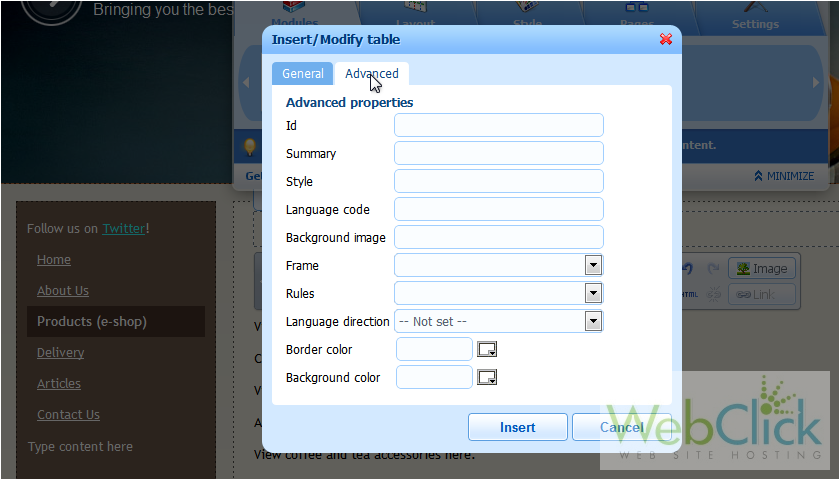
Let's change the border color.
10) Choose a new color using the color picker.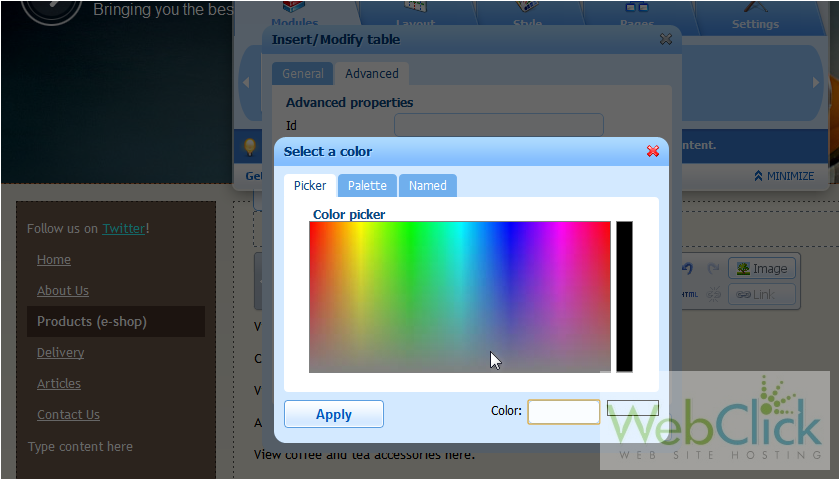
11) Or select a color from the palette.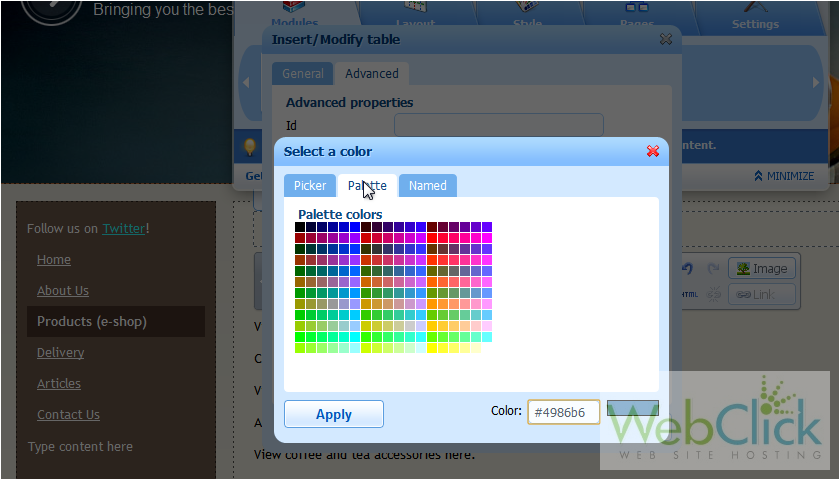
12) Click Insert.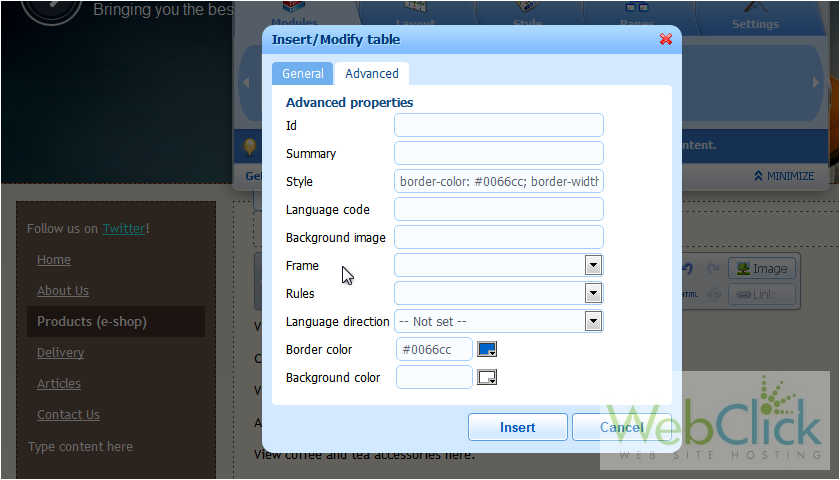
13) Now fill in your table with information.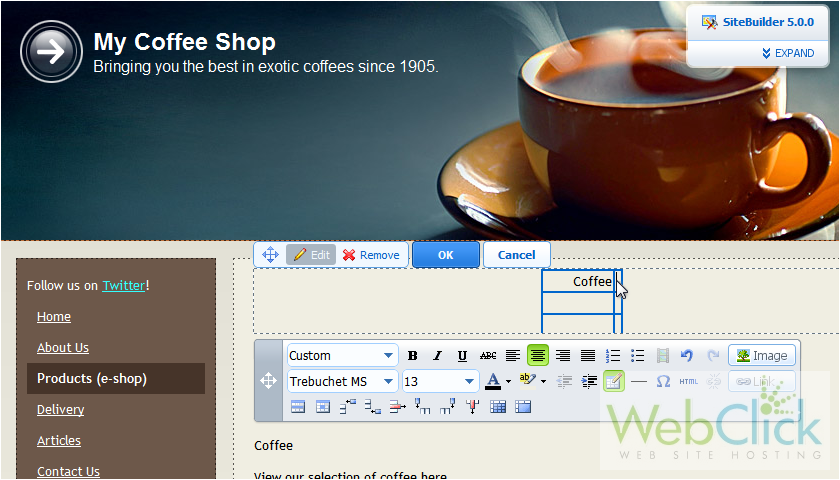
14) Add a row by clicking this icon.
15) Delete the selected row by clicking this button.
16) Click OK.
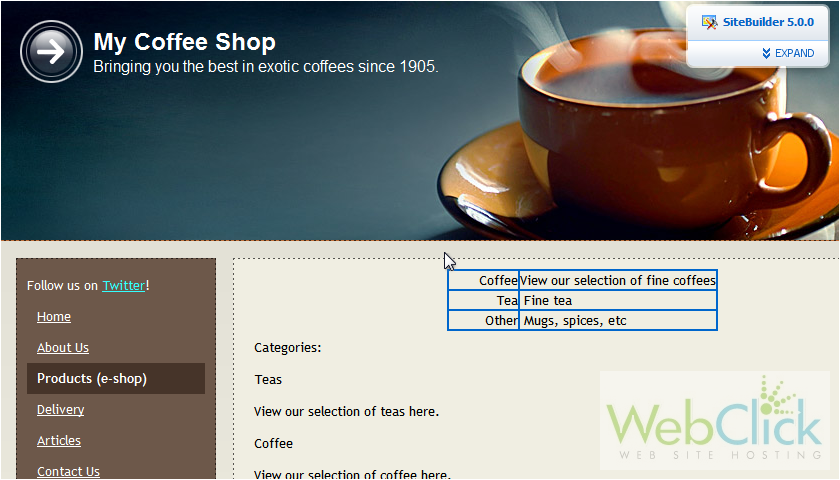
Here is our completed table. You now know how to create and edit tables in SiteBuilder.