SiteBuilder is a great tool that enables users to create professional-looking sites without any knowledge of HTML markup or graphic design skills. Just pick a suitable page design and content template, add your text to pages, and publish the site.
Let's go through all the steps of building a website starting with selecting a domain to launch SiteBuilder.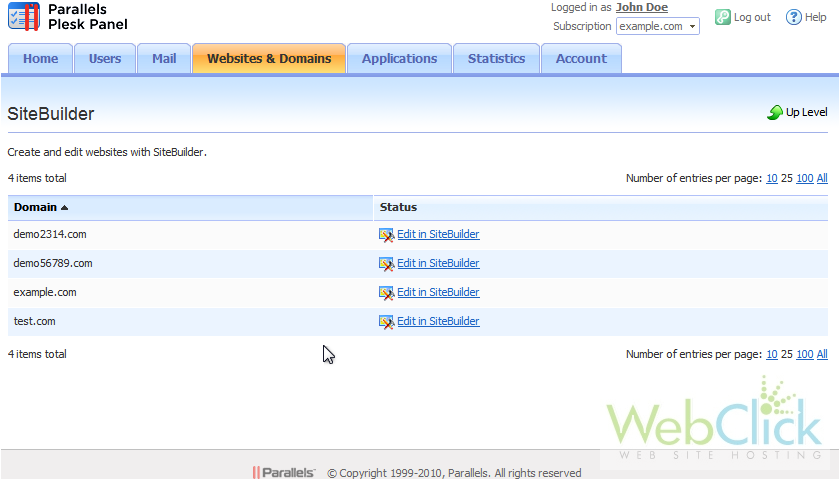
1) If a website has already been created automatically, click Start Over to go back to the beginning.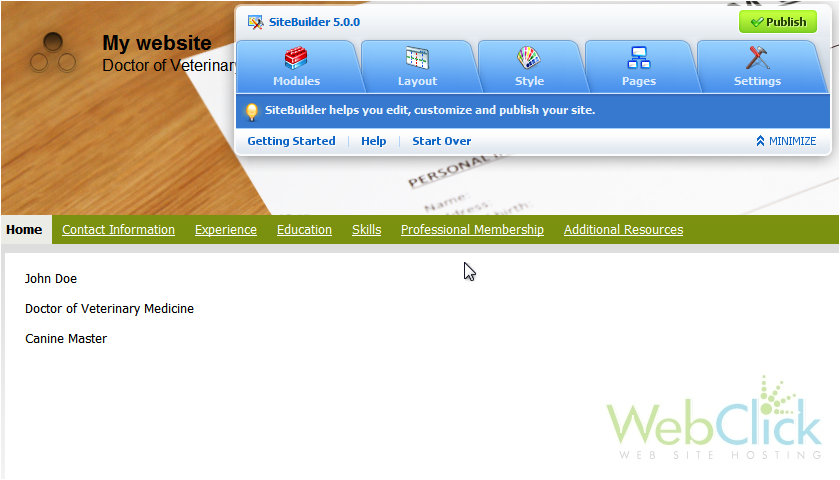
2) Click Yes to confirm.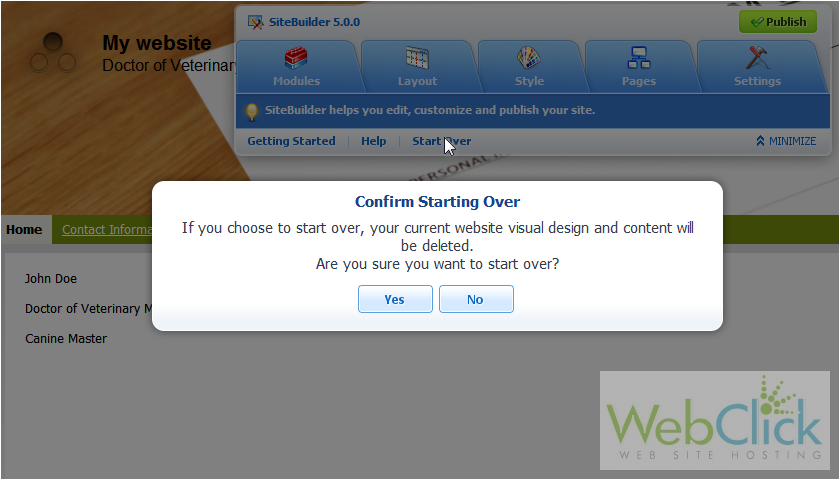
If a website doesn't exist for the current domain, this wizard will be shown instead.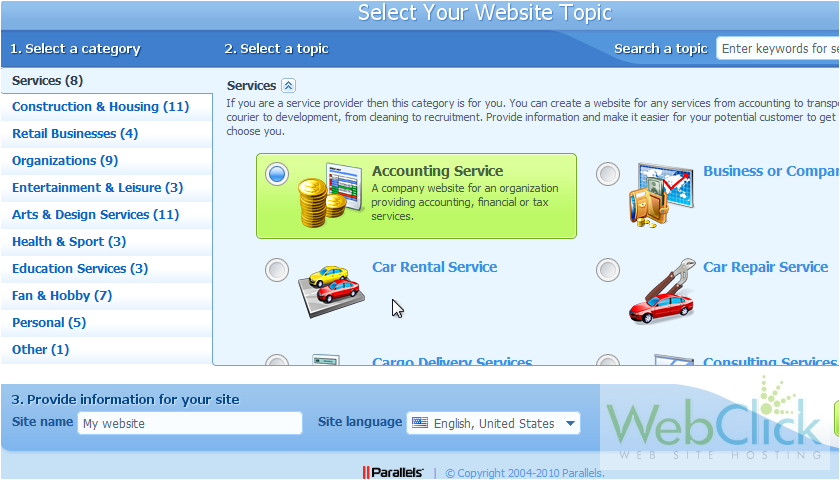
3) First choose a category.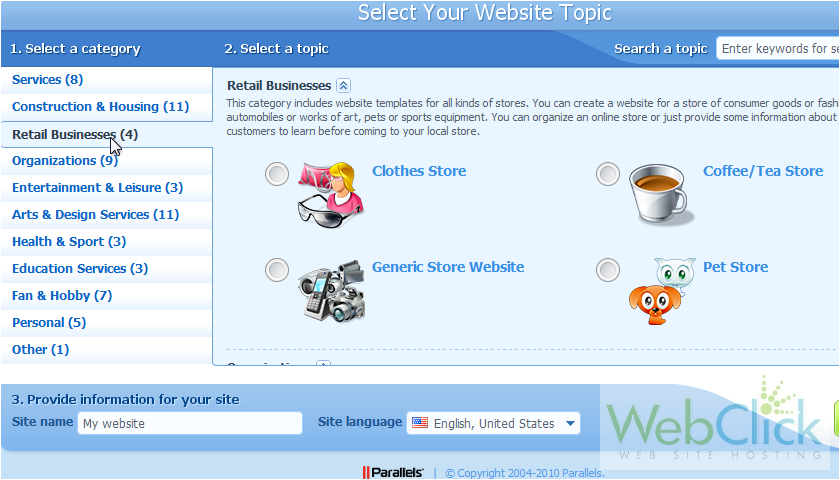
4) Then select a topic.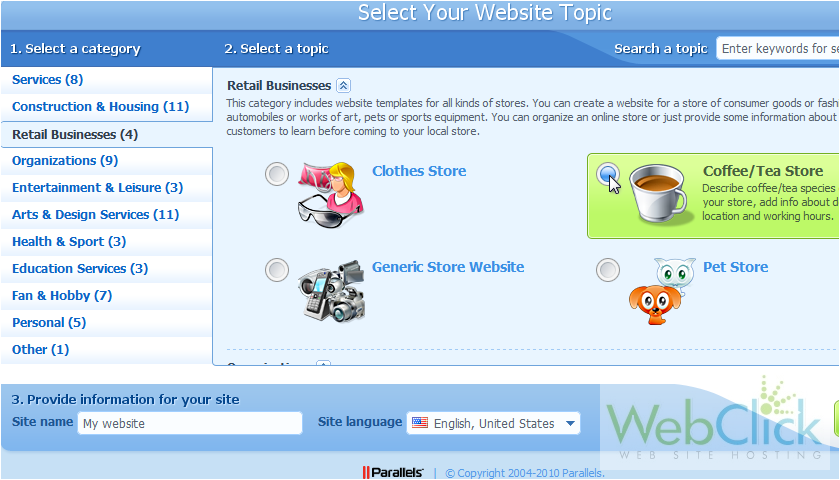
5) Enter the site name.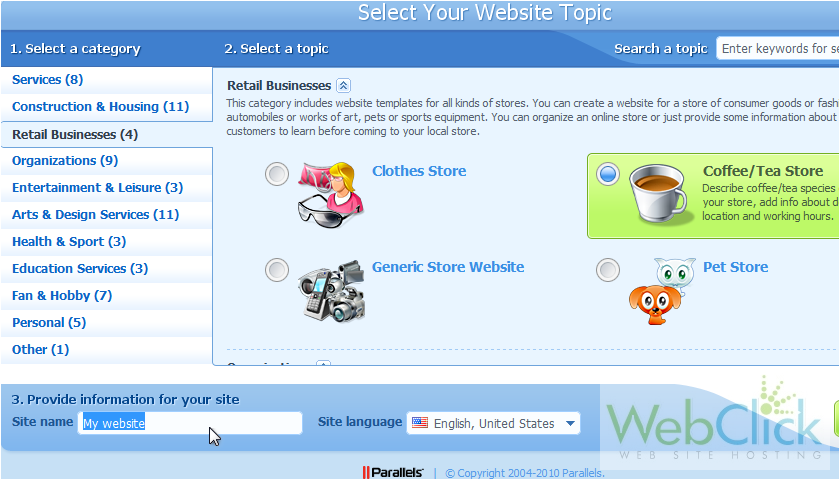
6) Click Create Site.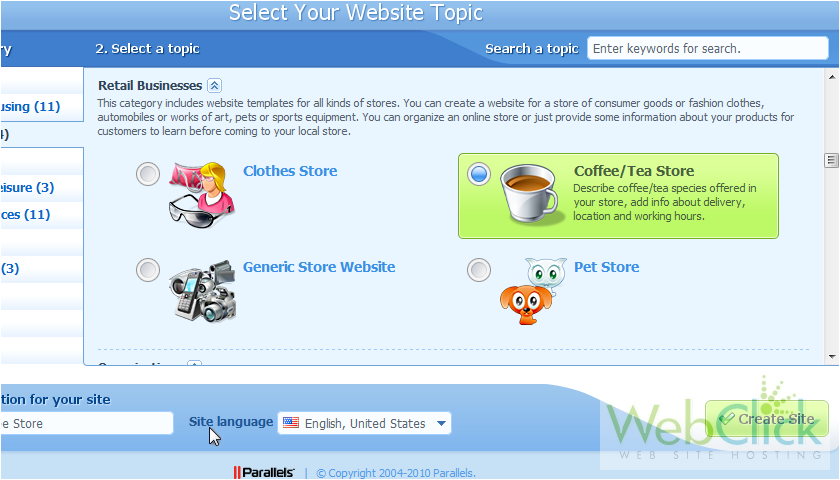
7) Verify the information is correct and click Submit.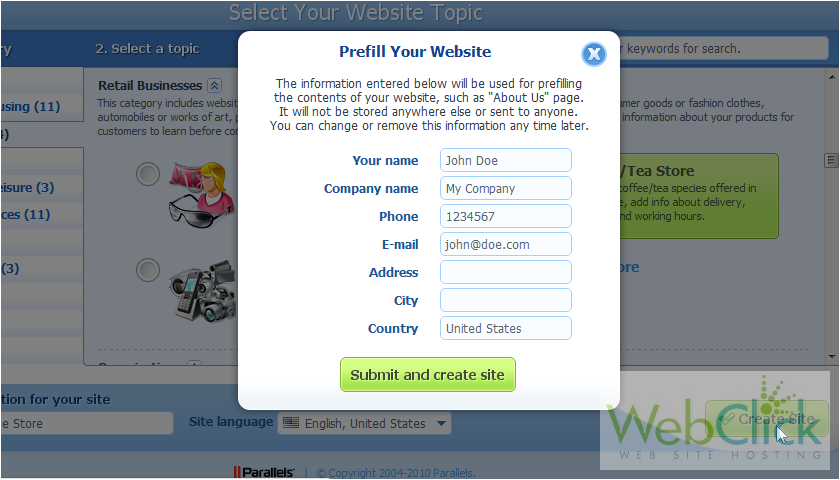
A random layout and style will be generated and pre-filled with some content. If you aren't satisfied with the result, you can always click Start Over to erase all existing content and retry from the beginning, or even select another topic.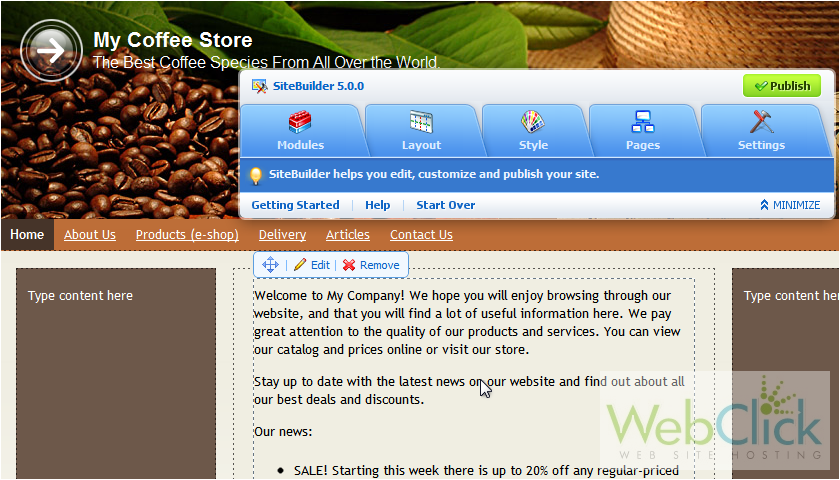
It is also possible to tweak each aspect manually. We'll quickly cover some basics.
Let's look at Modules first.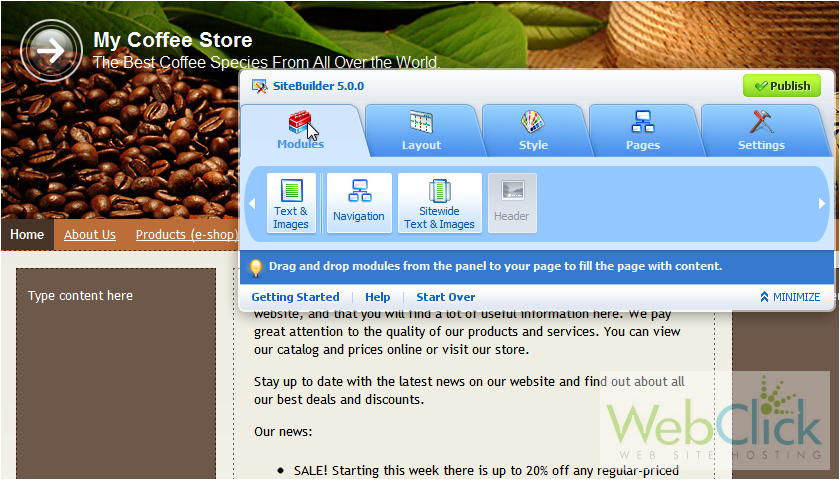
Modules can consist of text & image areas, navigation bars and a header. If your site already has a header, you won't be able to add a second.
There is also a module for sitewide text & images which will be shown on all pages of your website.
8) To add a module, click and drag it to a location in your website.
9) Edit the navigation options, if desired.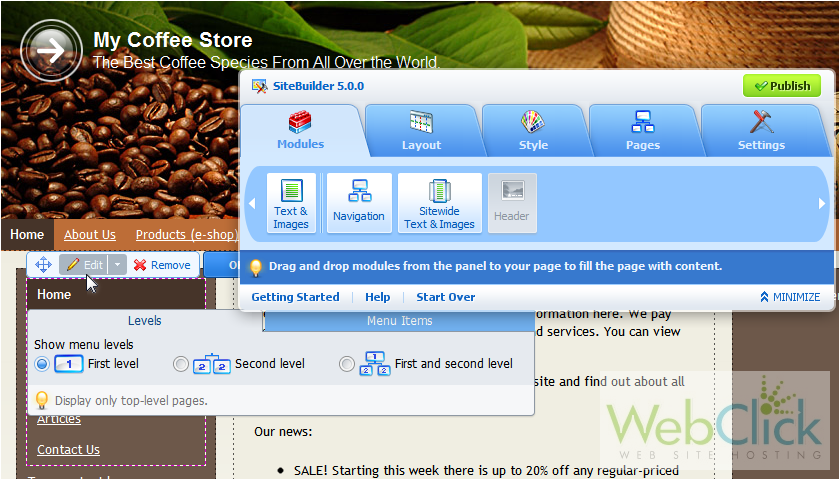
Removing modules is even easier than adding them.
10) We don't need two navigations on the same page, so click on the horizontal one.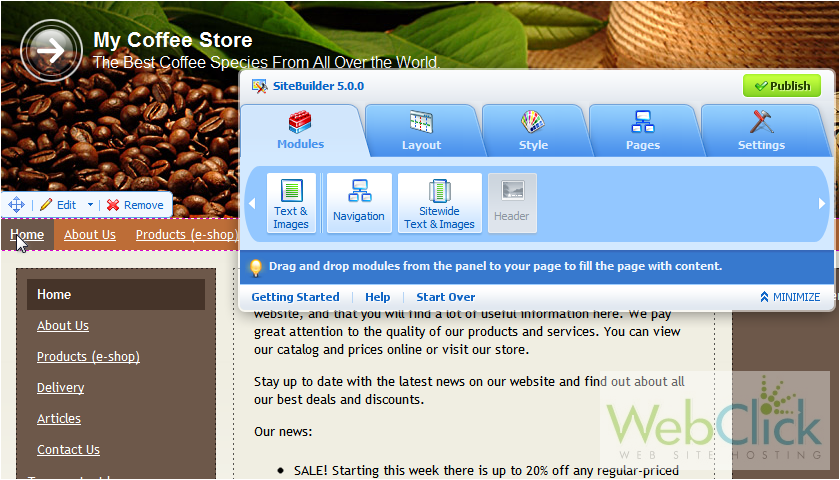
11) Now click Remove.
12) Confirm deletion.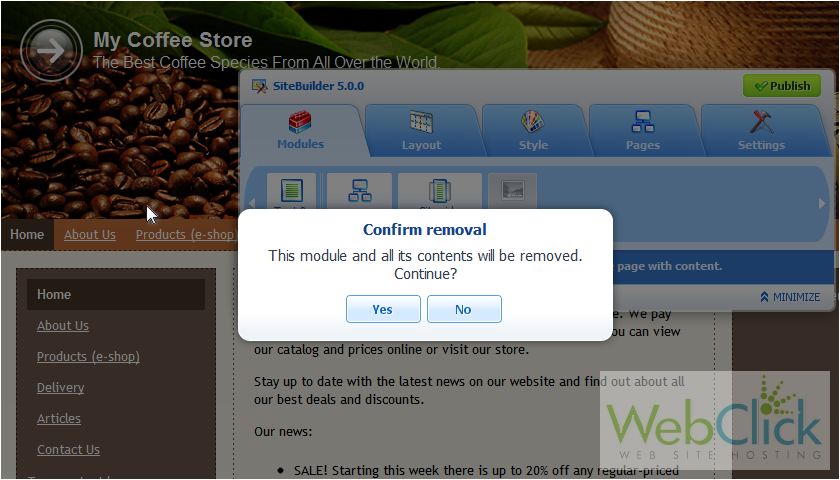
Now let's edit this text module.
This toolbar contains many formatting options.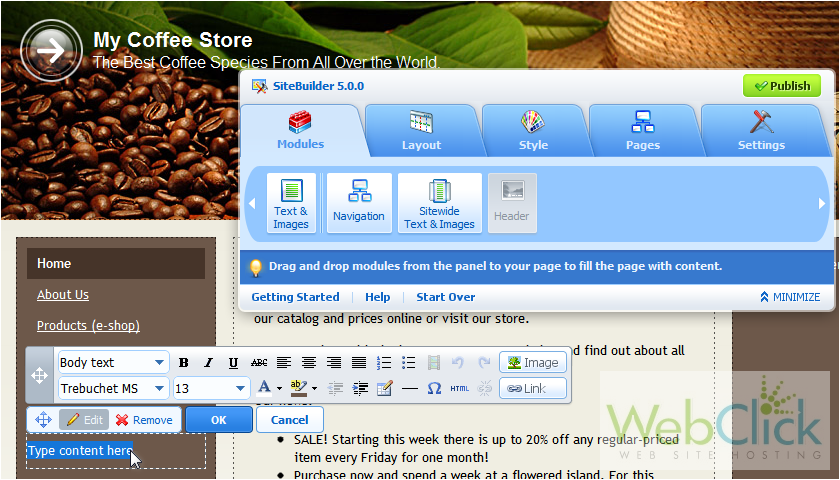
13) Click OK.
Next, we'll see how to add an image to our site.
Let's move the menu box.
14) Click in the module where you would like to add an image, or drag a new module onto the template.
15) Delete the existing filler text.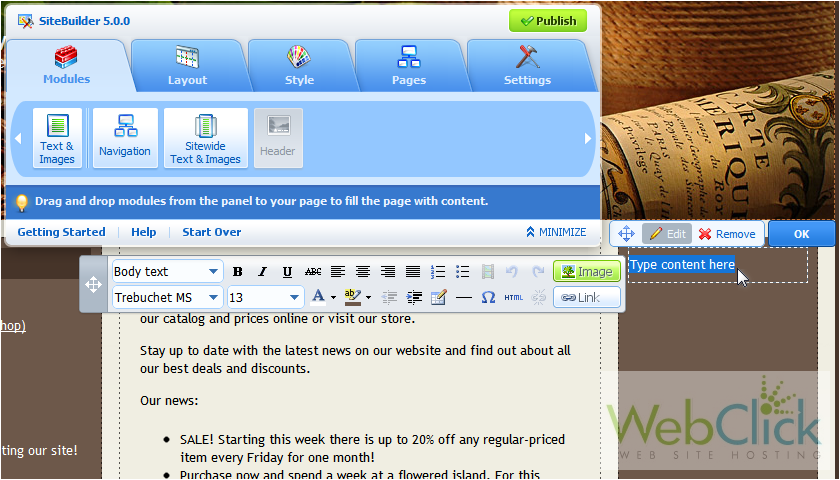
16) Click the Image button.
17) Browse for the image and click OK.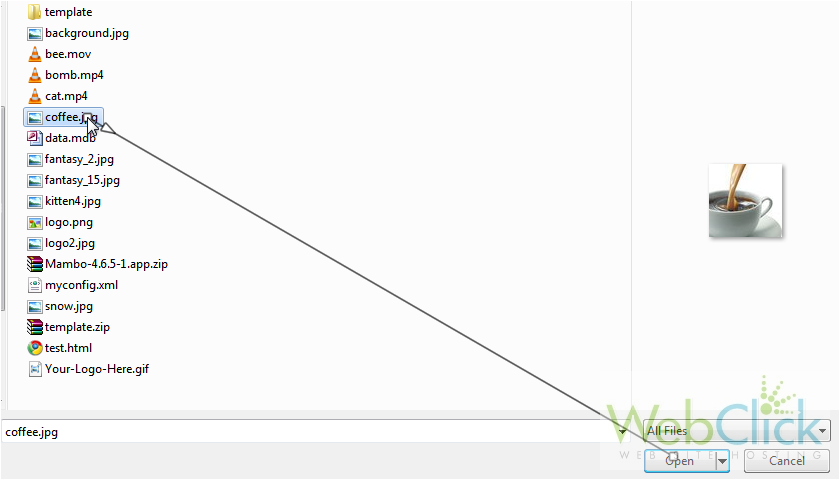
After the image has been uploaded, you can then choose the image size and text wrapping.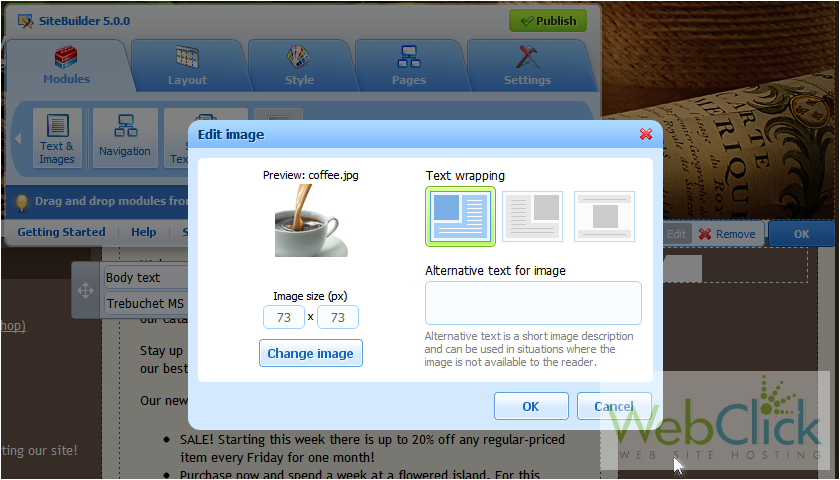
18) Click OK.
19) Click OK to close the editing options for this module.
That's it for modules! Now let's take a look at some of the basic options for the other tabs many of which will be covered in more detail in the other videos in this series.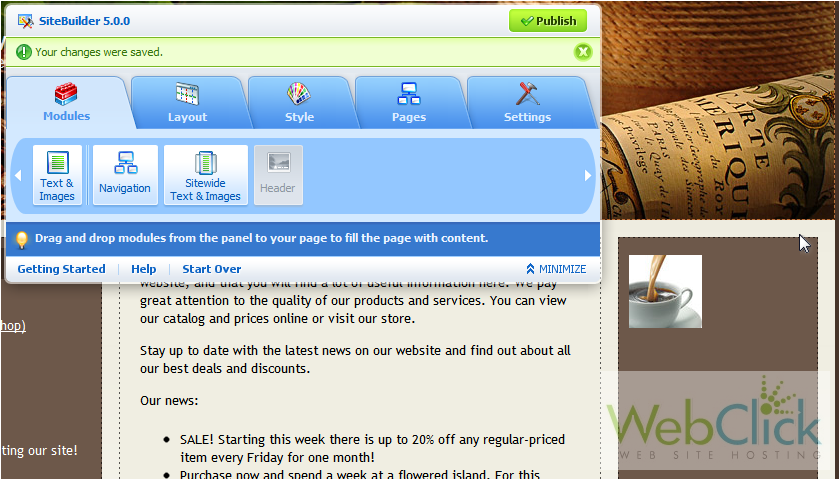
20) Go to Layout.
Here we can choose to have one, two or no sidebars, and even set their size and position on the page.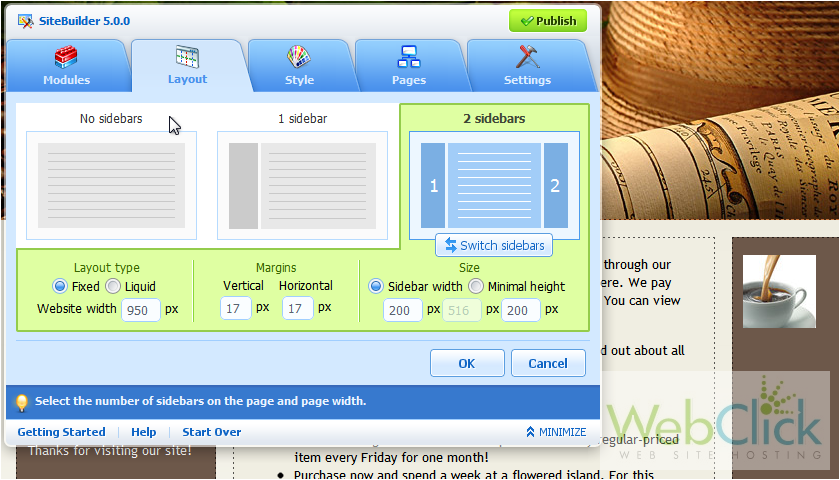
21) Go to the Style tab.
This is where we can choose a color scheme and adjust each individual color to our preference.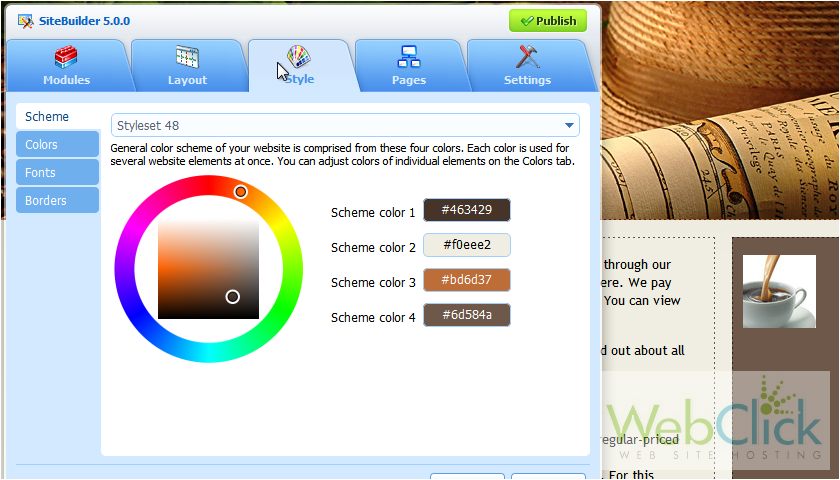
22) Click Pages.
This tab is where we set the information for each page including a title, description and keywords, and choose where each page appears in the navigation.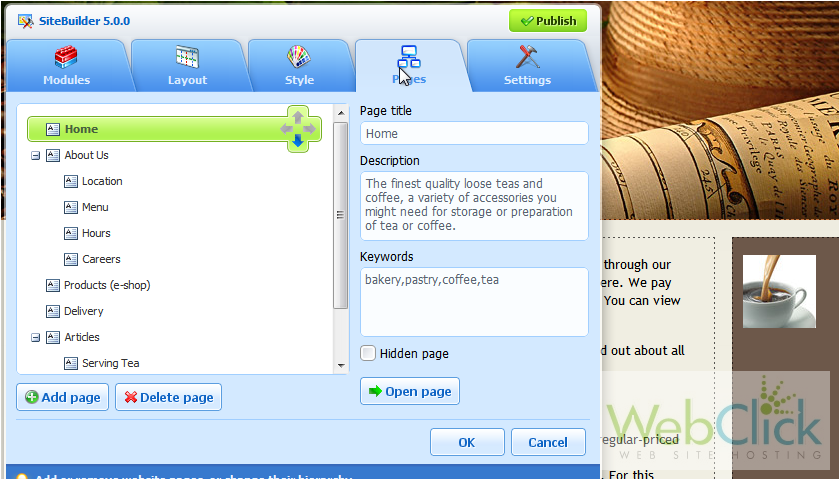
23) Click Settings.
This is where we can set the website name, description and keywords.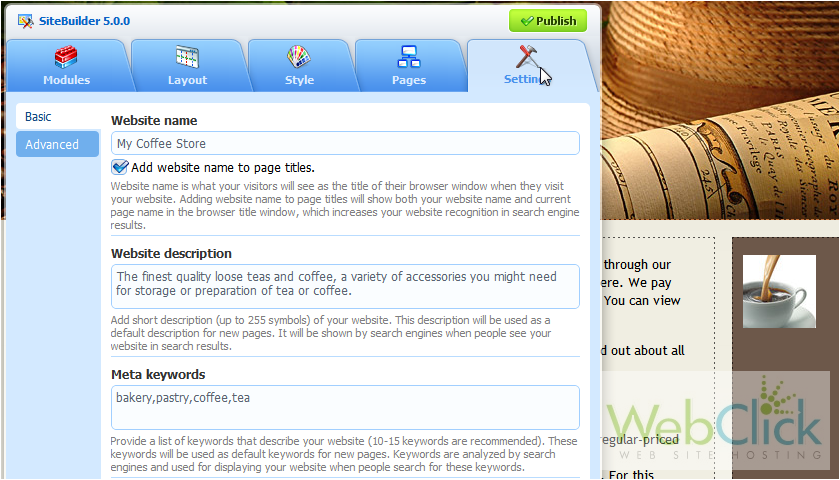
24) When you are finished, don't forget to click Publish to apply the changes to your live site.
Once done, a link to your website will be displayed here.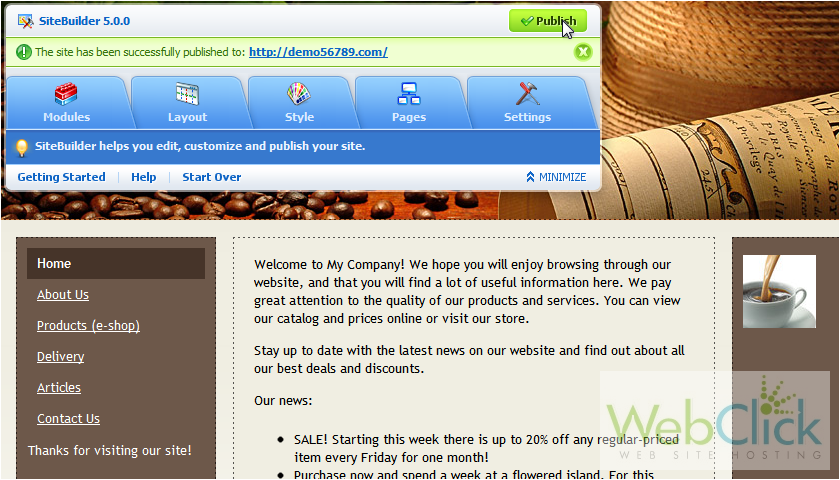
Here is our published site. That's it! Now you know how to build a website in SiteBuilder.